I've been a little lazy making updates here recently between the holidays and quite frankly the stress and depression catching up with me after. I haven't seen my husband, Tony, since Christmas and I'm going a three week stretch before I'll see him again. Aside from cleaning, decluttering and a few knit and crochet projects, I don't have any activities to keep me distracted and I've kinda let things go the past couple of weeks.
This week I've been reading a book
Organizing from the Inside Out by Julie Morgenstern to help motivate me in my decluttering efforts and help with the daunting task of organizing the new house.
Over New Year's weekend, Tony started framing the roof of the house. Money is tight this pay period, so I stayed in Texas so he could have more money for lumber. I don't have any photos of the roof yet, but I do have photos from when I helped lay the OSB (Oriented Strand Board) for the subfloor and when we started framing the walls.
The weekend of December 11 & 12, temperatures did not get above freezing in our part of Oklahoma and we were laying the OSB for the final layer of the subfloor.
We used a general floor adhesive to help bond the insulated panels with the OSB. Then we screwed the OSB to the panels.
We needed to paint the OSB to help protect it from the elements, but since it didn't get above freezing we had a problem with the paint and adhesive both freezing. Here's the paint can with frozen paint. As soon as I poured it from the can it would freeze on the can and on the roller. One can of paint didn't cover very much.
Here's our lasagna floor. The boxes for the floor joists, the insulated panels and the OSB.
The subfloor completed. We had a neighbor's son come later in the week and finish painting for us when the weather was warmer.
I'm having some problems with the formatting, so in the above picture we used 2"x10" boards to help block in the subfloor and support the base of the walls. This is what we started doing the weekend of December 18 & 19.
Below the guys (Tony, his friend Quinton and Quinton's sons Nick and Bubba) are laying out the first wall.
First wall is up. This is a wall for the bathroom and closet.
Second wall is up. This is for the closet and bedroom.
Second portion of first wall is up. This is for the kitchen and utility room.
View from the top of the hill after the first day of working on the walls.
The second day we began laying out the wall for the bedroom and living room.
Living room wall. Tony's step-dad and mom did some renovations to their home a few years ago and kept two 6' windows they gave to us. I think I'm most excited about these windows.
Bedroom wall. A desk will go under each window and the hole in between is for a through the wall window a/c unit.
Wall in its entirety.
First interior wall. This is between the closet and bathroom. You also get to see Tony's unique fashion sense. His favorite fluorescent orange t-shirt and a mustard yellow button-up.
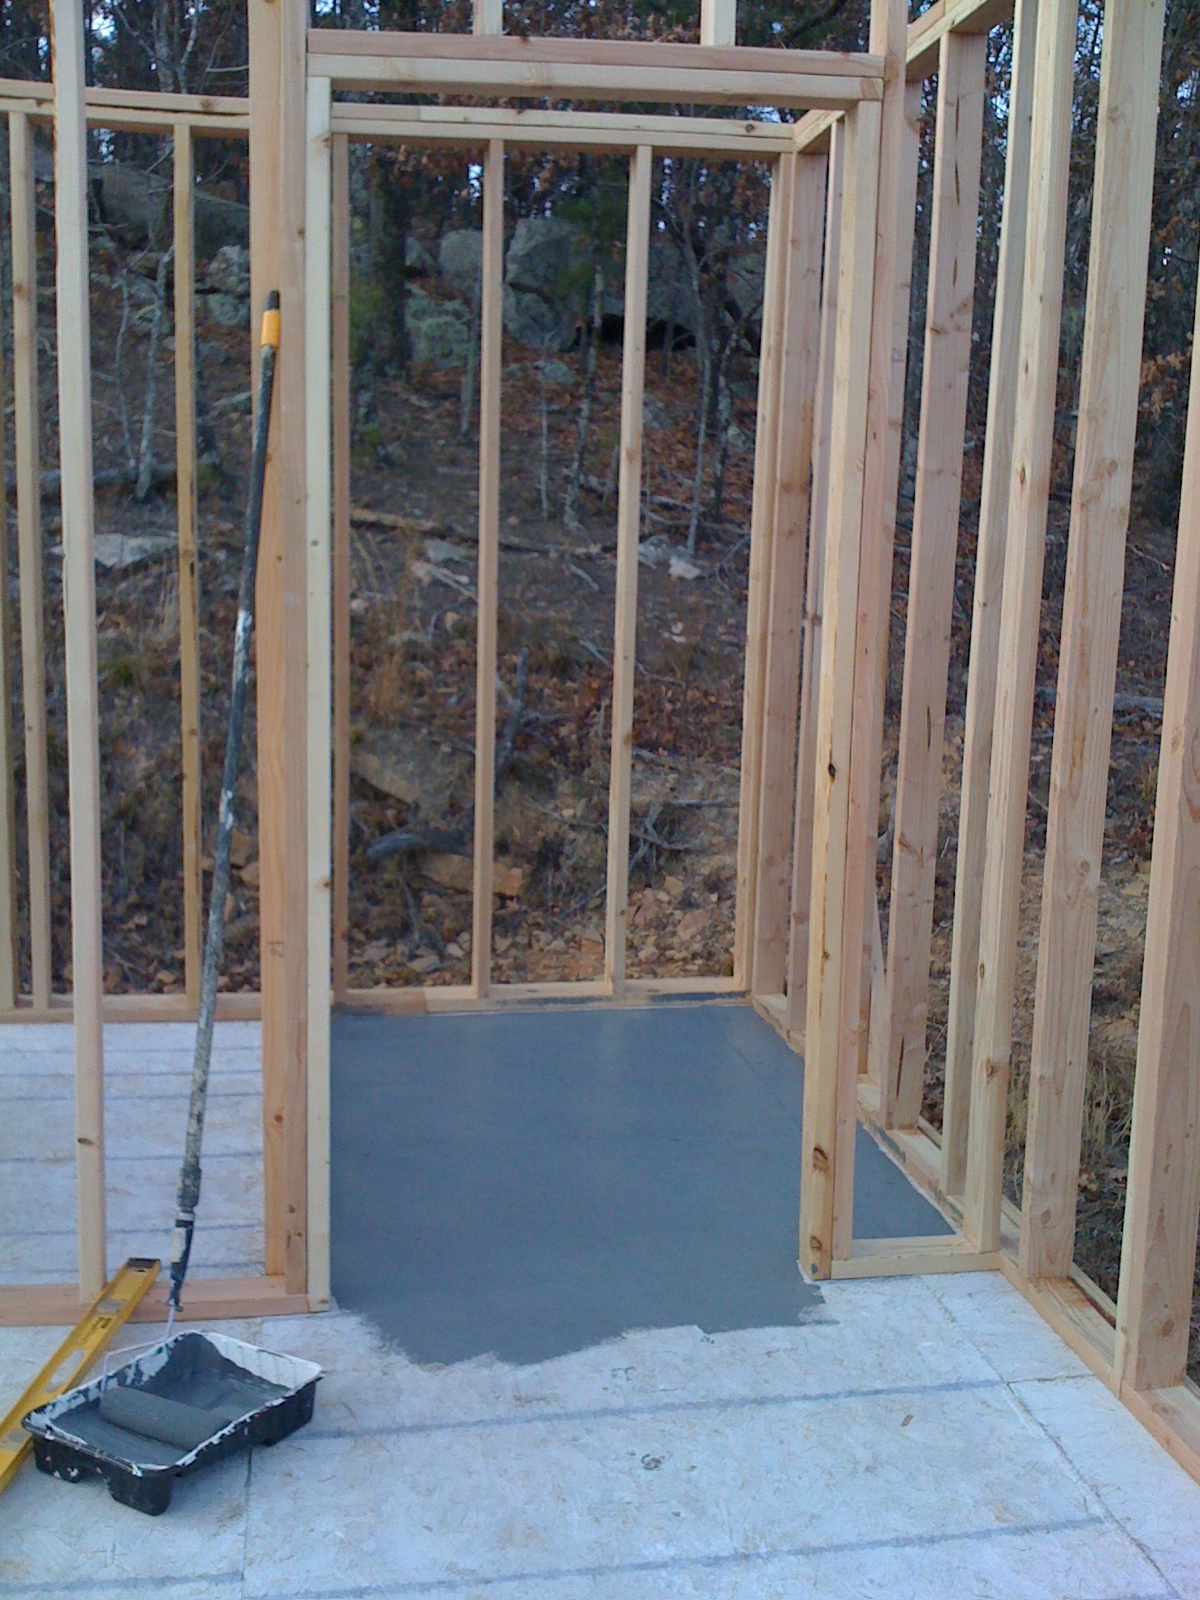
Wall with doors for the bathroom and closet. The closet is on the far end.
My closet. We ended up using a patio paint to seal the OSB. That is the floor we will be living on when we first move in until we can get the main floor laid. At the moment we are considering a slate tile for the bathroom and utility room and wood for the remainder. We're considering bamboo but haven't settled on our final choice yet.
Interior wall framing in the bathroom and bedroom. This is the final interior wall. The open area will be the kitchen and living room.
The bedroom.
The full moon as we were leaving Sunday night. This was the night before the lunar eclipse and winter solstice.